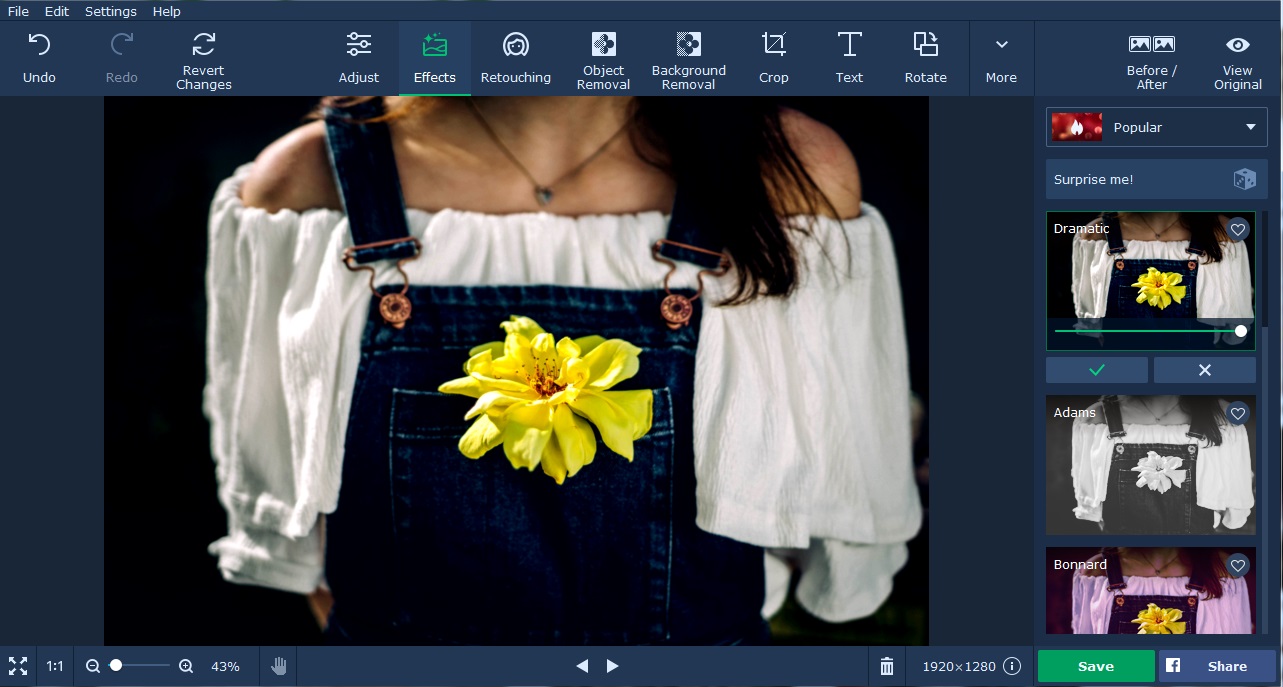
Most of the time, the photos that you take are not perfect because of many reasons. For example, you can’t hold the camera still and end up taking a blur photo. Sometimes, there are too much light or shadows in the photo because of the inappropriate lighting in the room. Often, when you take photos, some objects that should not be there end up in your photo. However, you don’t need to worry about any of these because all these can be fixed by simply editing them on a basic photo editor like Movavi Photo Editor for Mac.

To edit a photo, you must first download Movavi Photo Editor for Mac from Movavi site. After that, you must drag the photo into the work area to open it. If you look above, you will see a few tools that you are going to regularly use for editing the photos. They include object removal, background removal, crop, text, rotate and resize. The object removal tool works much like a clone stamp and can remove any undesirable element from the photo. The tool is easier to use than clone stamp because it just involved marking the unwanted object with a red brush. Several sizes of brush are available to make it easy for you to paint a small or big unwanted object. After using the red brush tool to paint it, the only step left is to click on the Start Erasing button to get the unwanted objects erased.
The background removal tool in the photo software for Mac is particularly used in removing background. Often, you wish you could just use a nicer background for the main subjects in the photo. This is what the background removal tool is for and it allows you to substitute the old background with another picture or solid color. You need to mark with two different colors of brush including red and green to remove the background. Like the object removal tool, the red brush is for marking object that you want to delete. In this case, it is the background that you want to delete. So, you use the red brush tool to mark the background. The green brush tool is for marking the main subjects. If you need the picture with a transparent background, you simply press the Save as button to save it after the background is deleted.
If you need to crop a part of the picture, you can go to the Crop tab. In the crop tab, you will see crop frame with dotted border. You can move the crop frame to the part of the picture that you want to retain. The size of the crop frame can be adjusted by entering the width and height. There are a number of crop presets that you can choose including 1:1, 3:2, 4:3, 5:4, 7:5, and 16:9. After you have adjusted the crop frame, you can click the Apply button to crop the selected area in the photo.
If you want people to read some text on your photo, you can use the text button to add the text. In the Text tab, you can add as many text boxes as you want in different positions on the photo. The text box can be stretched to make it bigger and accommodate more text. All the basic text formatting are supported in the text tool in Movavi Photo Editor for Mac computers. You can rotate the text and apply transparency feature onto the text.
In the Adjust tab, you will find basic image enhancement tools that let you control stuff like brightness, shadows, highlights, tint and etc of the photo. If your photo look slightly fuzzy, you can try to drag the sharpness slider to the right and see if it sharpens your photo.